When it comes to home improvements, few projects are as both practical and aesthetically pleasing as constructing a wood fence gate. Not only do gates provide security and privacy, but they're also a major player in the curb appeal of your property. This comprehensive guide will walk you through the steps to achieve a gate that's not only beautiful and robust but also capable of withstanding the test of time and weather. Whether you're a DIY enthusiast looking for a summer project or a homeowner in need of a quick fence repair, this post will equip you with the knowledge to get the job done right.
Understanding the Basics of Fence Gate Design
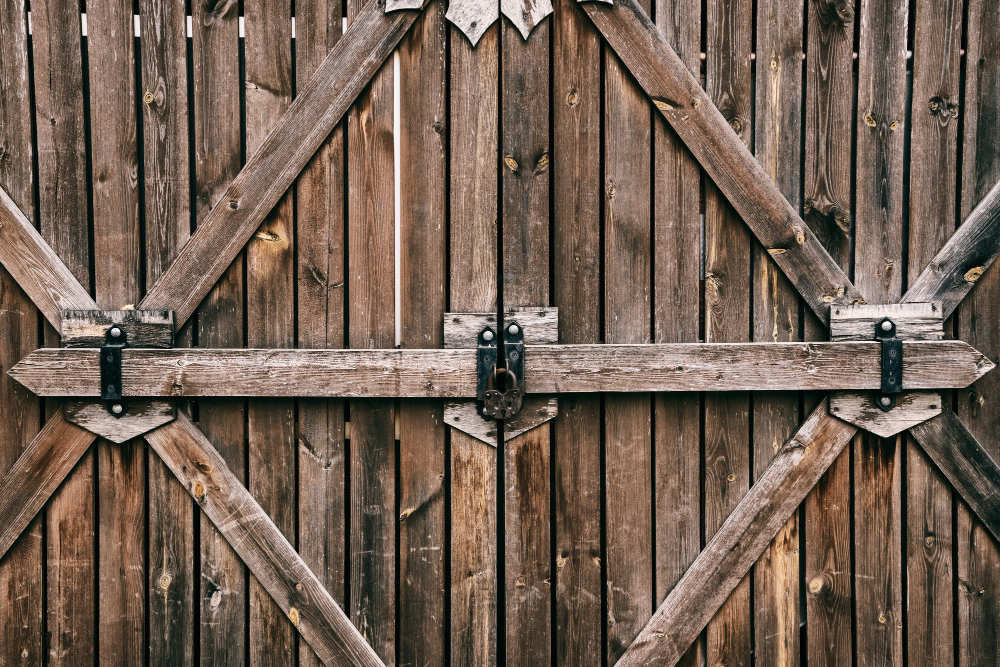
Before you even pick up a hammer, it's helpful to understand the different parts that make up a typical wood fence gate.
- The frame: This is the 'skeleton' of your gate, comprising horizontal and vertical boards that support the gate covering.
- The covering: Usually made of vertical wooden slats (pickets), the covering gives the gate its characteristic wood fencing appearance. It can be made of single boards, diagonals, lattice, or other specialized designs, depending on the effect you want to achieve.
- The hardware: The gate hardware consists of the hinges, latch, and any other elements necessary to ensure your gate operates smoothly and securely.
Gathering Your Tools and Materials
Crafting a wood fence gate is a project that necessitates careful preparation and the right set of tools. Here's what you'll need:
- Measuring tape and pencil: Essential for precise measurements and marking where you plan to make your cuts.
- Circular saw or miter saw: For cutting the wood to the required lengths.
- Level and square: To ensure your gate is plumb and your corners are square.
- Drill with screwdriver bits: For attaching the gate components and installing hardware.
- Hinges, latch, and other gate hardware: Choose sturdy, weather-resistant hardware that can handle the weight of your gate.
- Wood: Use pressure-treated lumber for any parts that will contact the ground or will be exposed to weather.
- Fasteners: Screws and nails suited for your type of wood and chosen to resist rust and corrosion.
- Protective gear: Don't forget the safety goggles and gloves!
Crafting Your Gate Frame
The frame is the structural core of your gate and provides the foundation for the covering. To assemble the frame:
- Measure and cut your boards: Determining the size of your gate is crucial, and it will depend on the size of the opening in your fence. Remember to factor in the width of the covering boards when calculating your measurements.
- Connect the boards with screws: Make sure your screws are long enough to create a strong connection but not so long that they'll poke through the other side of your wood.
- Check for squareness and levelness: Using a carpenter's square and a level, ensure that your gate is perfectly square and that the horizontal boards are level.
Designing and Installing the Gate Covering
The covering of your gate is the part most people will notice, as it's the part that is most visible. When designing and installing the covering:
- Design the look: Decide on the pattern or design you want for your gate. Vertical pickets are a classic choice, but custom designs can add unique flair.
- Cut your covering boards to fit: Use your measuring tape and saw to cut covering boards to the appropriate length.
- Attach the covering to the frame: You can attach the covering boards to the frame using screws or nails. Be mindful of the spacing to maintain a consistent look and ensure that the gate is lightweight enough not to strain the hinges.
Finishing Touches
Your gate is nearly complete, but there are a few more things to consider to ensure it stands the test of time:
- Waterproofing: Apply a sealant or paint to your wood gate to protect it from the elements. If you opt for paint, be sure to coat all sides for the best protection.
- Install Your Gate Hardware: Your gate will need hinges, a latch, and possibly a handle. Position the hardware carefully and check that it operates smoothly before you call it "done."
- Maintain Your Gate: Regular maintenance will extend the life of your gate. Treat your wood at least every few years, and check the hardware for rust or wear.
Troubleshooting Common Gate Issues
Even the best gates can develop problems over time. Here's how to troubleshoot a few common issues:
- Sagging gates: A gate that sags in the middle may be due to the weight of the covering boards. Add a diagonal brace to relieve the strain, or install more robust hardware.
- Sticking gates: Gates that are tough to open or close could be out of alignment. Adjust the hinges or install a wheel on the bottom to help it roll along the ground.
- Misaligned latches: If the latch doesn't line up, you may need to reposition the strike plate or adjust the latch itself.
The Master's Touch
If you're looking for fence repair in Jacksonville, FL, and feel that crafting your own fence gate is a bit beyond the DIY realm, don't worry — Masters Quality Fence is here to help. With years of experience and a team of professionals, we can help you with all your fencing needs, from gate construction to full fence installation. Contact us today and take the first step towards a beautiful and secure wood fence gate that you can be proud of.
By following the steps and guidelines provided in this ultimate guide, you can construct a wood fence gate that not only serves its functional purpose but also enhances the beauty and value of your home. Remember to take your time, measure twice, and cut once, and soon you'll be opening and closing your custom wood gate with ease and satisfaction.