The Ultimate Guide to Building a Split Rail Fence

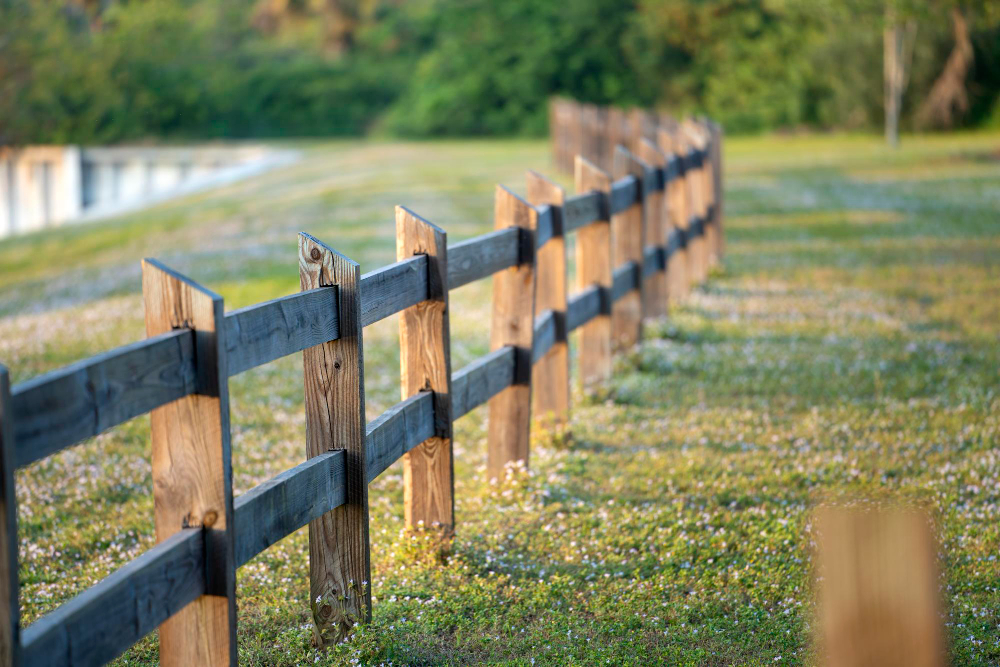
A split rail fence is a classic and timeless addition to any property. It is popular mainly due to its rustic look and how easy it is to construct. This type of fencing is a perfect option for homeowners who want to enhance their outdoor space's aesthetic appeal while improving privacy and security at the same time. While it may seem like a simple DIY project, building a split rail fence is a bit trickier than many homeowners think. That's why we've prepared this ultimate guide to help you build a sturdy and long-lasting split rail fence.
1. Plan ahead
Before you begin building your split rail fence, start by planning the project meticulously. Decide on the fence's length, height, and location and ensure that you comply with your local regulations. You should also identify the materials and tools you will need for the project, including the split rails, posts, nails, hammer, saw, and level.
2. Choose the right materials
Split rail fences can be made of different materials, ranging from wood to vinyl or even PVC. Wood is the most popular material for split rail fencing, but you need to choose the right type of wood. Cedar and redwood are the most popular options as they are durable, weather-resistant, and naturally insect-resistant. You should also consider the thickness of the split rails and the diameter of the posts.
3. Mark out the fence line
Once you have everything you need, start by marking out the fence line. Use a long tape measure to mark the space accurately and ensure that it is level. You can also use a string line for straighter lines. After marking the line, dig holes for the fence posts, ensuring that the holes are deep enough to support the posts securely.
4. Install the fence posts
Once you have dug the holes, start installing the fence posts. Place the posts in the holes and use a level to ensure that they are plumb. Then, use a shovel or a tamping bar to fill the holes with soil to hold the posts in place securely. You should also brace the posts in place to prevent them from shifting or sagging.
5. Install the split rails
After you have installed the posts, start installing the split rails. Begin by installing the bottom rail and gradually work upward. Make sure to line up the rails in each section as you go along. Do not nail the rails too tightly to the posts as this can cause them to split over time. Instead, allow the rails to move slightly, particularly if you are using pressure-treated wood.
Conclusion
Building a split rail fence may seem like an easy DIY project at first glance, but it requires proper planning, time, and effort. Follow the tips shared above to build a sturdy and long-lasting split rail fence that will provide privacy, security, and beauty to your outdoor space. If you are unsure about building a fence on your own, it is always best to hire a professional fence company like Masters Quality Fence to do the job for you. Not only will they ensure that your fence is properly installed, but they will also provide guidance on how to maintain it over the years. If you're looking for fence companies in Jacksonville, FL, contact them today for your free quote and let them build the perfect split rail fence for your home.